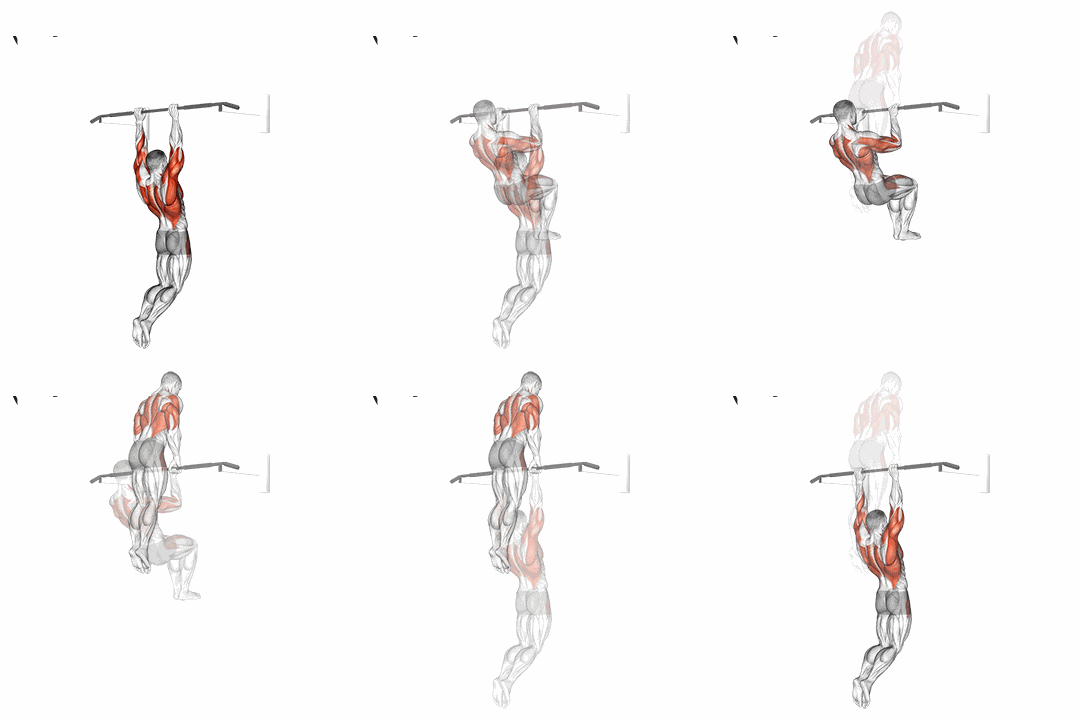
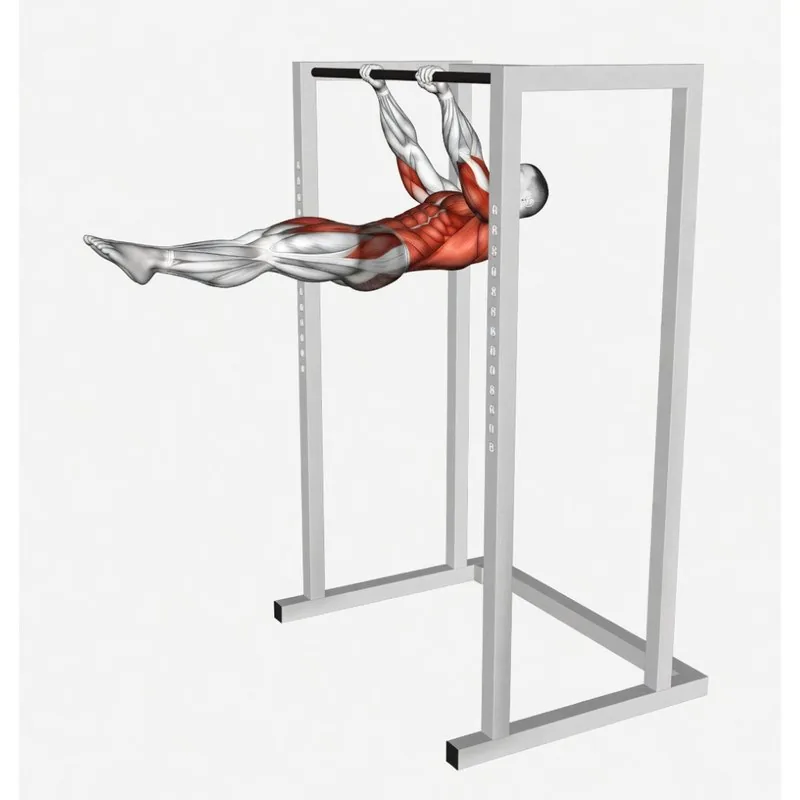
The front lever is an isometric: you hang from the bar with straight arms and hold the body horizontal, facing up. It sounds simple. It is one of the hardest things you can do with no equipment at all.
And unlike the muscle up, there is no technique here that compensates for missing strength. There is no trick. The only thing you can optimise is the order in which you train — and that is exactly where most people get it wrong.
The physics that governs all of it
A lever's difficulty does not depend on your weight, it depends on the distance between your centre of mass and the grip. That distance is the lever arm, and the moment your lats have to produce grows in proportion to it.
That is why tucking your knees to your chest makes the exercise accessible and extending your legs makes it elite. You are not lifting more weight: you are lengthening the lever.
| Position | Approx. relative difficulty | What changes |
|---|---|---|
| Tuck | 1× | Knees to chest, hips closed |
| Advanced tuck | 1.5× | Back flat and parallel to the floor, knees still bent |
| Straddle | 2.5× | Legs extended and open in a V |
| Full | 4× | Legs together and extended |
The prerequisites you cannot skip
Before touching the first tuck position, this should be in place:
- 10 strict pull-ups. Not for the number itself, but because it indicates the lats already tolerate vertical load.
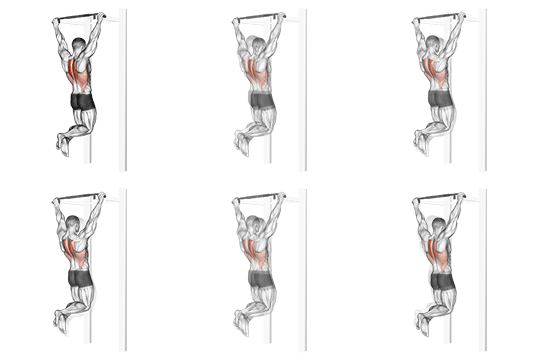
- 30 seconds of active hang with depressed scapulae. Without scapular control there is no lever, only swinging.
- 45 seconds of hollow hold. The front lever is a core anti-extension exercise in disguise. If the lower back arches, the position breaks before the arms do.
- Clean scapular pulls, 3 × 8. This is the movement that teaches you to start the pull from the scapula rather than the elbow.
The chain, rung by rung
1. Tuck front lever
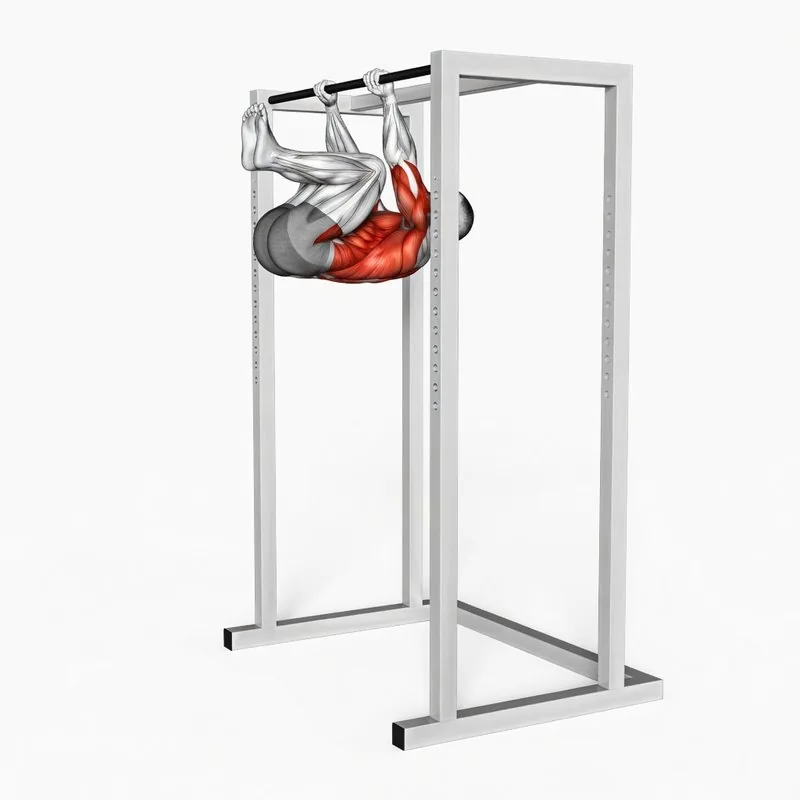
Active hang, knees to chest, hips closed and back rounded. The body forms a compact ball held horizontal under the bar.
What almost everyone gets wrong here: letting the hips sit below the shoulders. If the hip hangs, you are not in a lever, you are hanging with bent knees. Hips and shoulders have to be at the same height.
Exit criterion: 20 seconds. Not 15 with shaking.
2. Advanced tuck
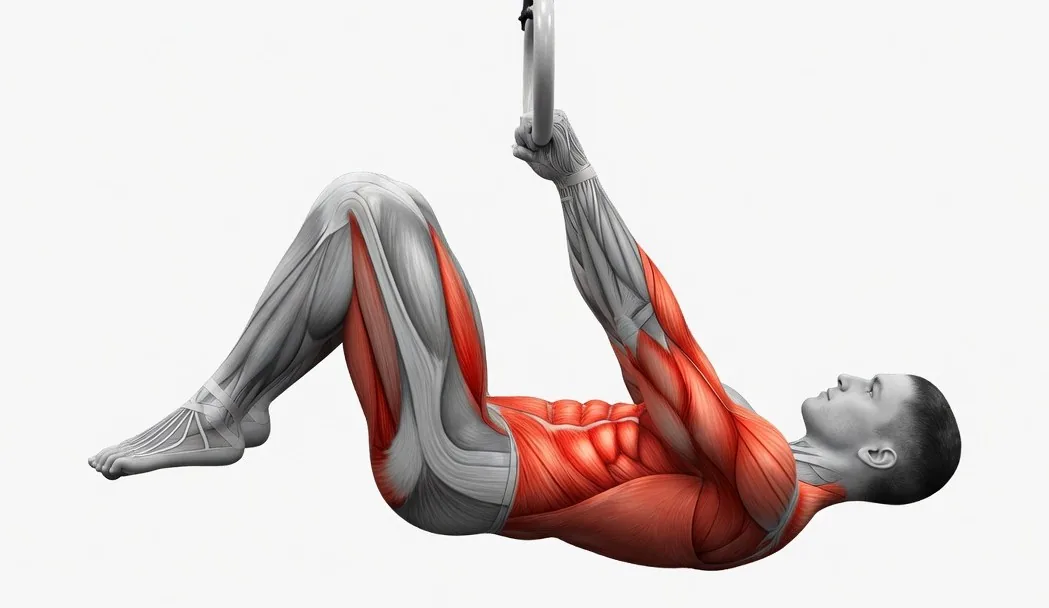
From tuck, open the hip angle until the back is flat and parallel to the floor, keeping the knees bent at 90 degrees. The lever arm grows all at once and you will feel the difference immediately.
This is where the most expensive mistake in the whole progression shows up: compensating for missing strength by arching the lower back. It feels easier because part of the work moves from lats to lower back, but it is a worse position and it punishes the lumbar spine. If you cannot keep the back flat, go back to tuck.
Exit criterion: 20 seconds with a flat back.
3. Straddle
Legs extended and open in a V. The wider you open, the closer the mass sits to the axis and the easier it gets — so straddle is also a continuous progression within itself: start very open and close the angle week by week.
This is the point where adductor mobility starts to matter. If you cannot open well, straddle will cost you more than it should for a reason that has nothing to do with strength.
Exit criterion: 15 seconds with straight legs and open hips.
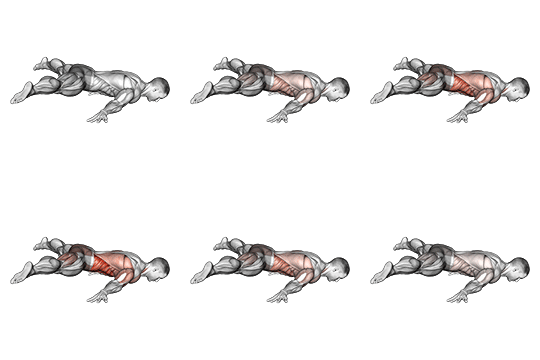
4. Full front lever
Legs together and extended, body in a straight line. That is the goal.
You get there by two routes worth combining: negatives from inverted hang (lowering slowly from vertical to horizontal) and partial isometrics, holding the full for only two or three seconds before returning to straddle.
Criterion: 10 clean seconds. From there you can start working the front lever pull-up.
How to programme it
This is the point most people ruin, and it has nothing to do with the exercise — it is the dose.
Isometrics are trained with low volume and medium frequency. What works: 3 sessions a week, 5 sets of the hardest position you can hold with form, 2 to 3 minutes rest between sets. Each set ends when form breaks, not when you reach failure.
| Week | Sets | Target hold | Note |
|---|---|---|---|
| 1-2 | 5 | 60% of your max | Accumulate volume with perfect form |
| 3-4 | 5 | 75% of your max | Starts to feel hard |
| 5-6 | 4 | 85% of your max | Where most of the progress is made |
| 7 | 3 | 50% | Deload — not optional |
The reason for the week-7 deload: the front lever loads the biceps insertion and the shoulder in extension enormously. It is the most common injury in all of street workout, and it almost always comes from stacking weeks without dropping volume.
Accessory work that actually helps
- Wide-grip straight-arm pulldowns (front lever raises). The exact pattern, done dynamically.
- Straight-arm inverted rows. Teaches lat tension in a horizontal position without the full lever arm.
- Hollow holds and tuck dragon flags. The core is the second bottleneck after the lats.
- Biceps work in extension. Full-range band curls, twice a week. Preventive, not cosmetic.
How long it takes
From ten clean pull-ups, the honest range is nine months to two years for the full. Tuck usually arrives in two or three months; advanced tuck in six; and straddle is where most people spend one to two years.
If that sounds long, it is because it is. The front lever is one of those skills where connective tissue sets the pace, not muscle — and connective tissue does not speed up by training more.
Mistakes that cost months
- Skipping advanced tuck. It is the most boring rung and the longest. It is also the one that builds the real strength.
- Arching the lower back to hold longer. The stopwatch lies and your back pays for it.
- Training it every day. It is a maximal isometric. Three times a week is the useful ceiling.
- Ignoring the elbow. A twinge at the biceps insertion is a signal to stop, not to grit your teeth.
- Comparing yourself to videos. Most front levers you see online are filmed during the one good second of a three-second attempt.
The full front lever progression has the whole chain with the animation for every rung, and the exercise library has each position separately with detailed execution.